How To: Stamped Text
This week on the blog I’m focusing on one of the most basic techniques I use for Stitchbooking and one that features in every book I’ve ever made - using alphabet stamps to create text.
Stamps are a quick and easy way to add names, places and details to your pages. Learn how I use them in my books and how to get the best results from this simple technique.

The solution to a tricky problem
Adding text to your pages can be one of the hardest things to do when telling your story, especially getting it small enough to fit on the page with other elements. There are various methods for adding your text, but stamping is the one I use the most, and the one I find to be the quickest and most versatile.
All you need are a set of alphabet stamps and an ink pad. The stamps are available from various craft shops in different sizes and different fonts from retro typewriter styles to modern sans-serif, and in the traditional wooden block style of stamp as well as the modern cling plastic . For most uses in your Stitchbook a set of small stamps will be best - these can be used for small headings as well as descriptive labels, names and dates.
As for ink, I use a regular ink pad - a water based black ink pad also available from craft shops. I find these to be more than sufficient for printing on fabric - and I know I am not going to wash the books so it doesn’t matter if it is not colourfast. If you think you might need to wash your book (perhaps you are making one for a child) then you would need to find a more permanent ink.
I almost always use black ink because I think it shows up better on the fabric. However there are so many gorgeous coloured inks out there I am sure you can find others that look equally as good.

Stamp onto ribbon for the best results
It is possible to stamp straight onto the fabric of your book , however I almost always stamp onto ribbon first, rather than straight onto the page, and then stitch the ribbon into the book. This way if you go wrong -if you space the letters out wonky or get too much ink on the edge of the stamp, you haven’t ruined your page. You can just try again on another piece of ribbon.
This has the added benefit of meaning you can add text over very patterned backgrounds . The ribbon can be stitched on top of anything, so this opens up possibilities for your layouts as you don’t have to leave blank areas to stamp onto. The image below, for example, has had the title ‘Linda and Jane’ stamped onto a cotton tape which has then been stitched to the background. If I had stamped onto the patterned fabric the writing wouldn’t be visible, so the tape is a great way to allow more patterns and colours into the design while still having legible text. In many cases the white of the ribbon actually highlights the text, which is an important part of the design, and draws the eye to the title.

How to Stamp onto Ribbon:
This is a very simple technique but you might need to practice to get it perfect. I recommend trying out new stamps on paper first to get to grips with how far apart the letters need to be spaced, how hard you have to press, and if there are any tricky letters ( for instance I have one set where I always try and put the C the wrong way round.)
1. If your stamp set is new you may need to pull apart the letters to separate each one before you start. Do this gently to break the rubber connecting them.
2. Decide on your text. I find it’s helpful to write out what I want to say on paper first, so I can just copy it onto the ribbon.
3. Press the first letter of your word into the stamp pad (press very lightly or you'll get black marks on the edges).
4. Press the stamp onto the ribbon. Try and line up the stamp with a particular point on the ribbon so all of the stamps will be at the same height.

5. Continue stamping along the ribbon until all of your text is complete. Try and keep the spacing and height even (this is the most difficult bit!)
6. After stamping make sure to clean up your stamps. If you are using water based ink then I find stamping them into a wet piece of kitchen paper is the best way to get into all of the crevices, but with other ink you might need to use baby wipes or specialist stamp cleaning sprays.

Tips for stamping:
Press lightly into the ink pad to prevent build up of ink at the edges. I very lightly dab the stamp on the ink pad about 5 times, to ensure an even coat of ink.
Different ink pads will behave differently and need different amounts of pressure. Some ink pads are wetter than others and this will change how much you need to press down. Get to know your ink pad by practicing on paper first.
Clean your stamps after use to make sure there isn’t any wet ink left on them. Some ink will stay wet until the next time you use them which may cause colours to mix and messy edges in the future.
You might find that sometimes the ink bleeds and becomes less clear when dry. This happens on some types of polyester ribbon, with some types of ink. Experiment with different combinations of ribbon and ink to find the ones that work for you. A cotton tape can work well if it has a flat woven surface.
Sewing Onto The Page
Once all of your letters have been stamped you can sew the ribbon onto your pages. If the edges start to fray, tuck them under when you sew the ends or use a dab of superglue or Fray-stop.
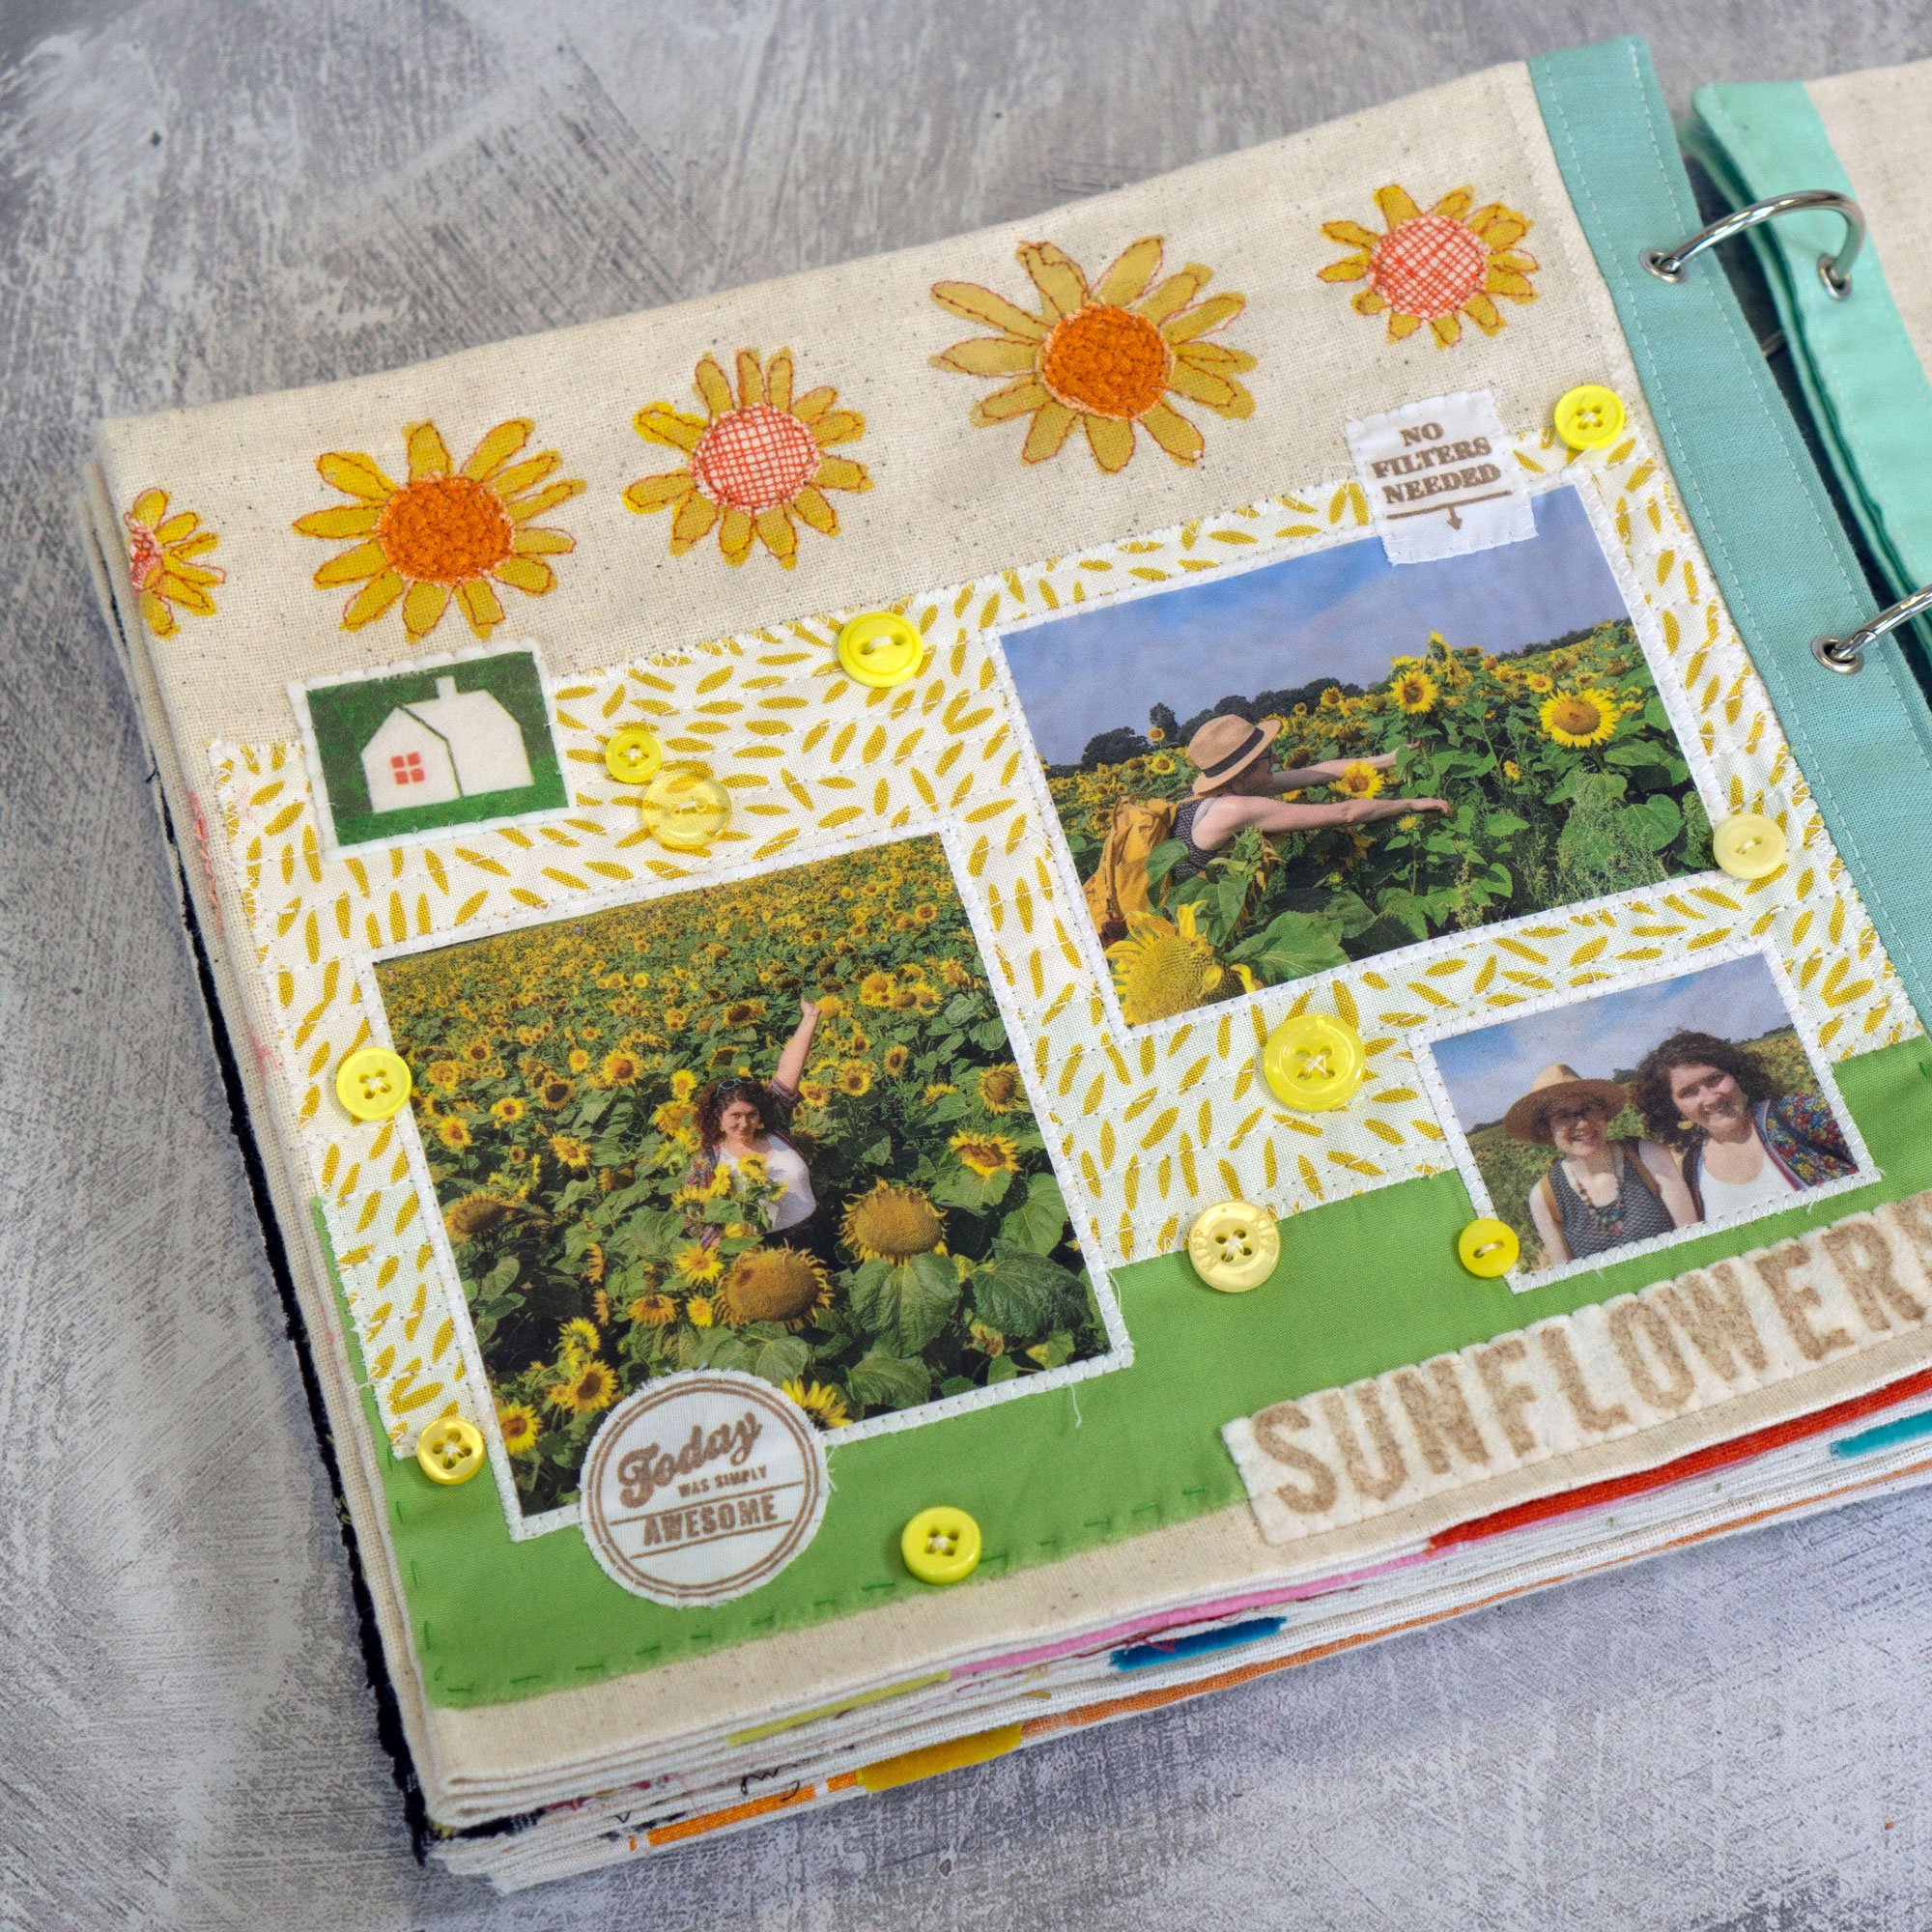
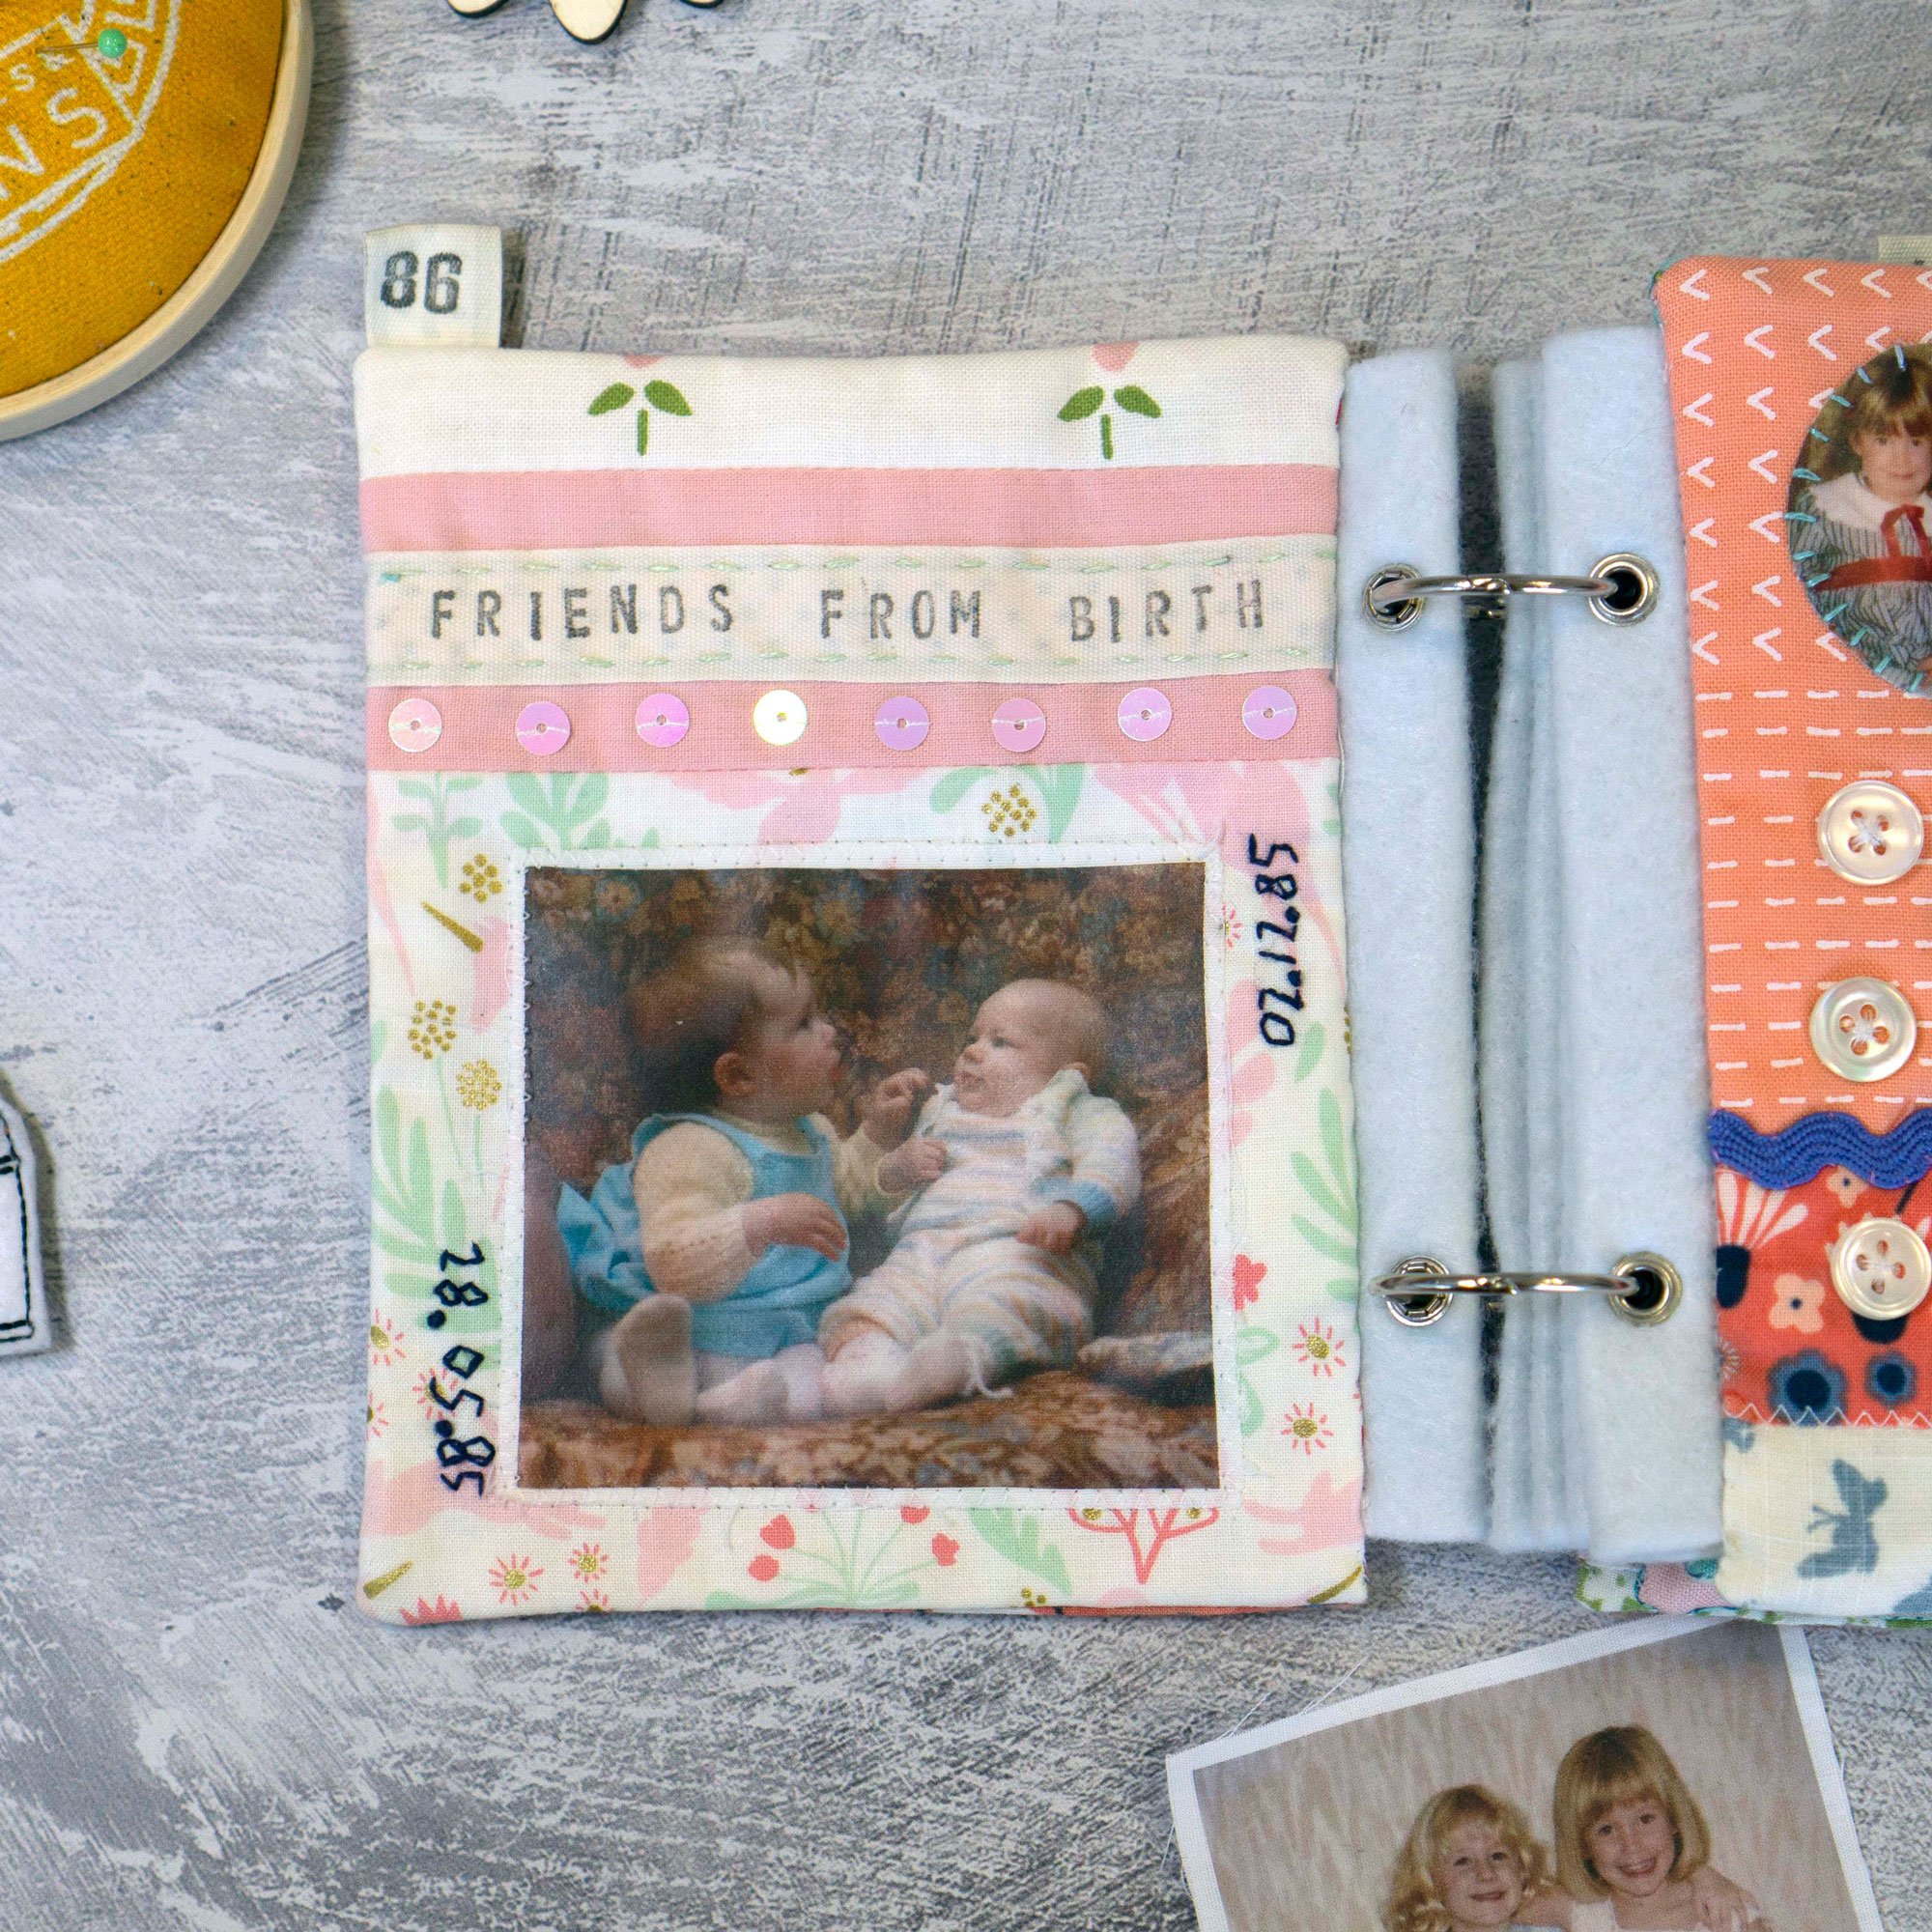
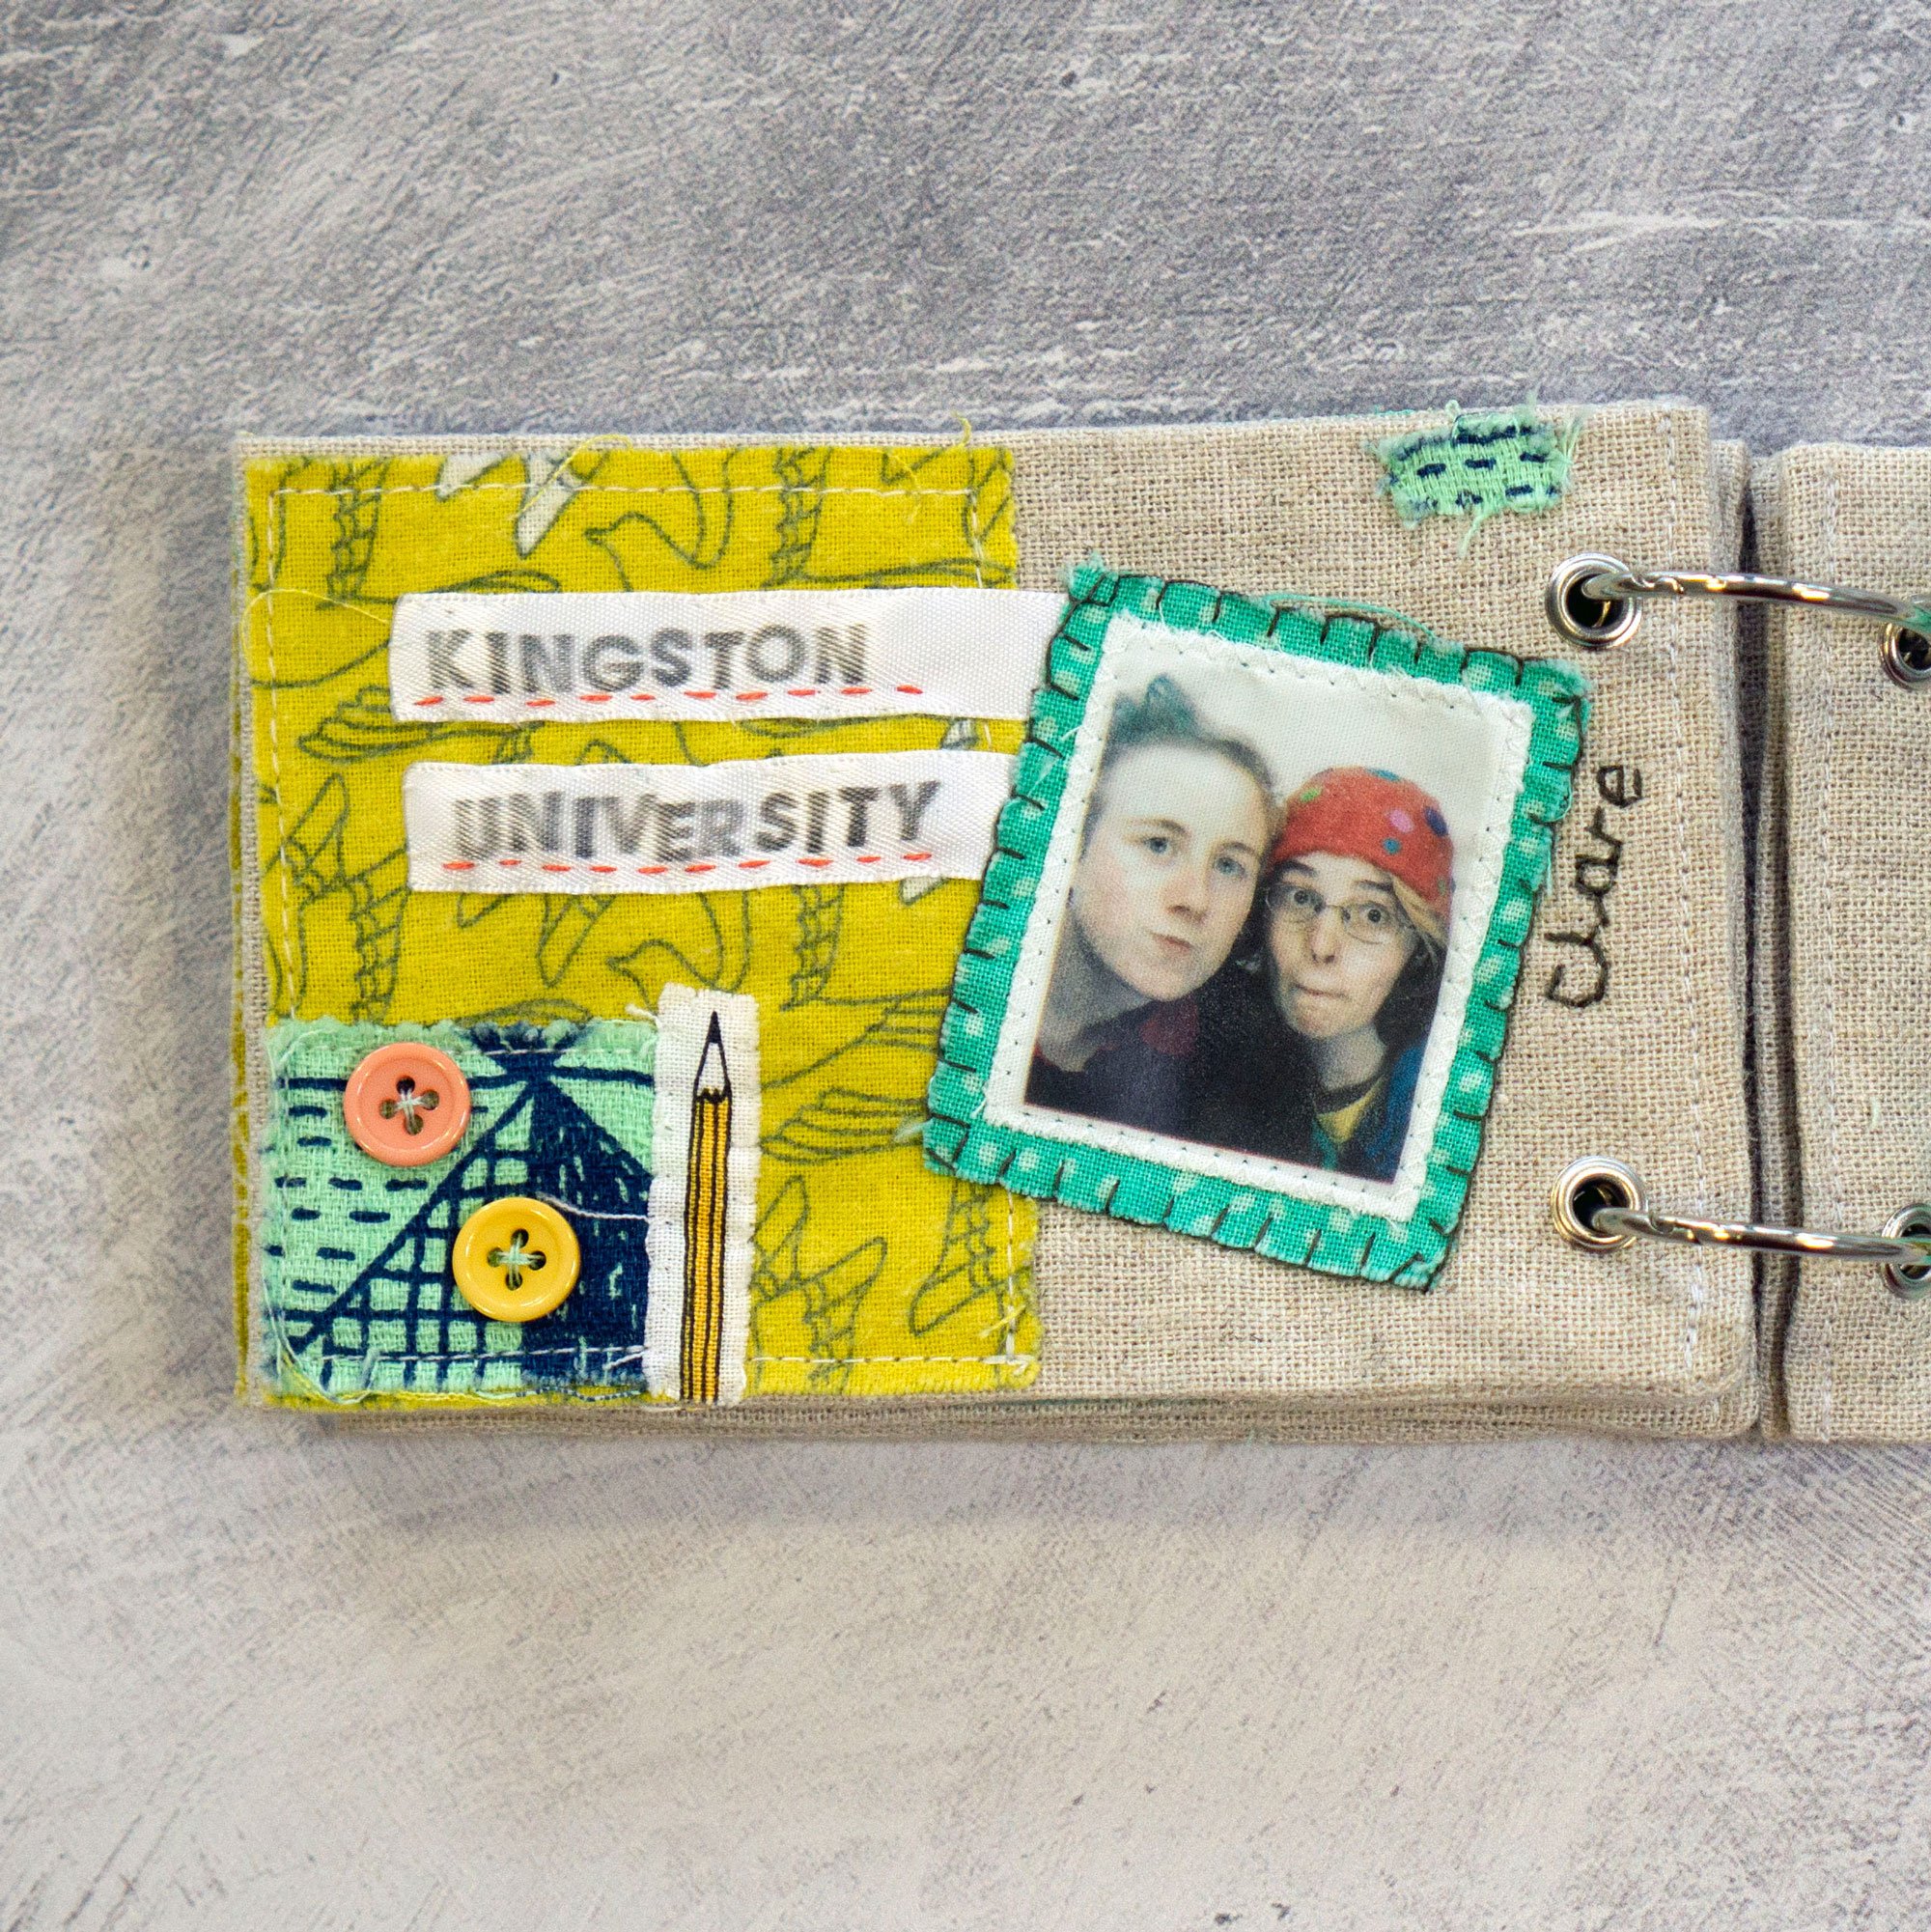
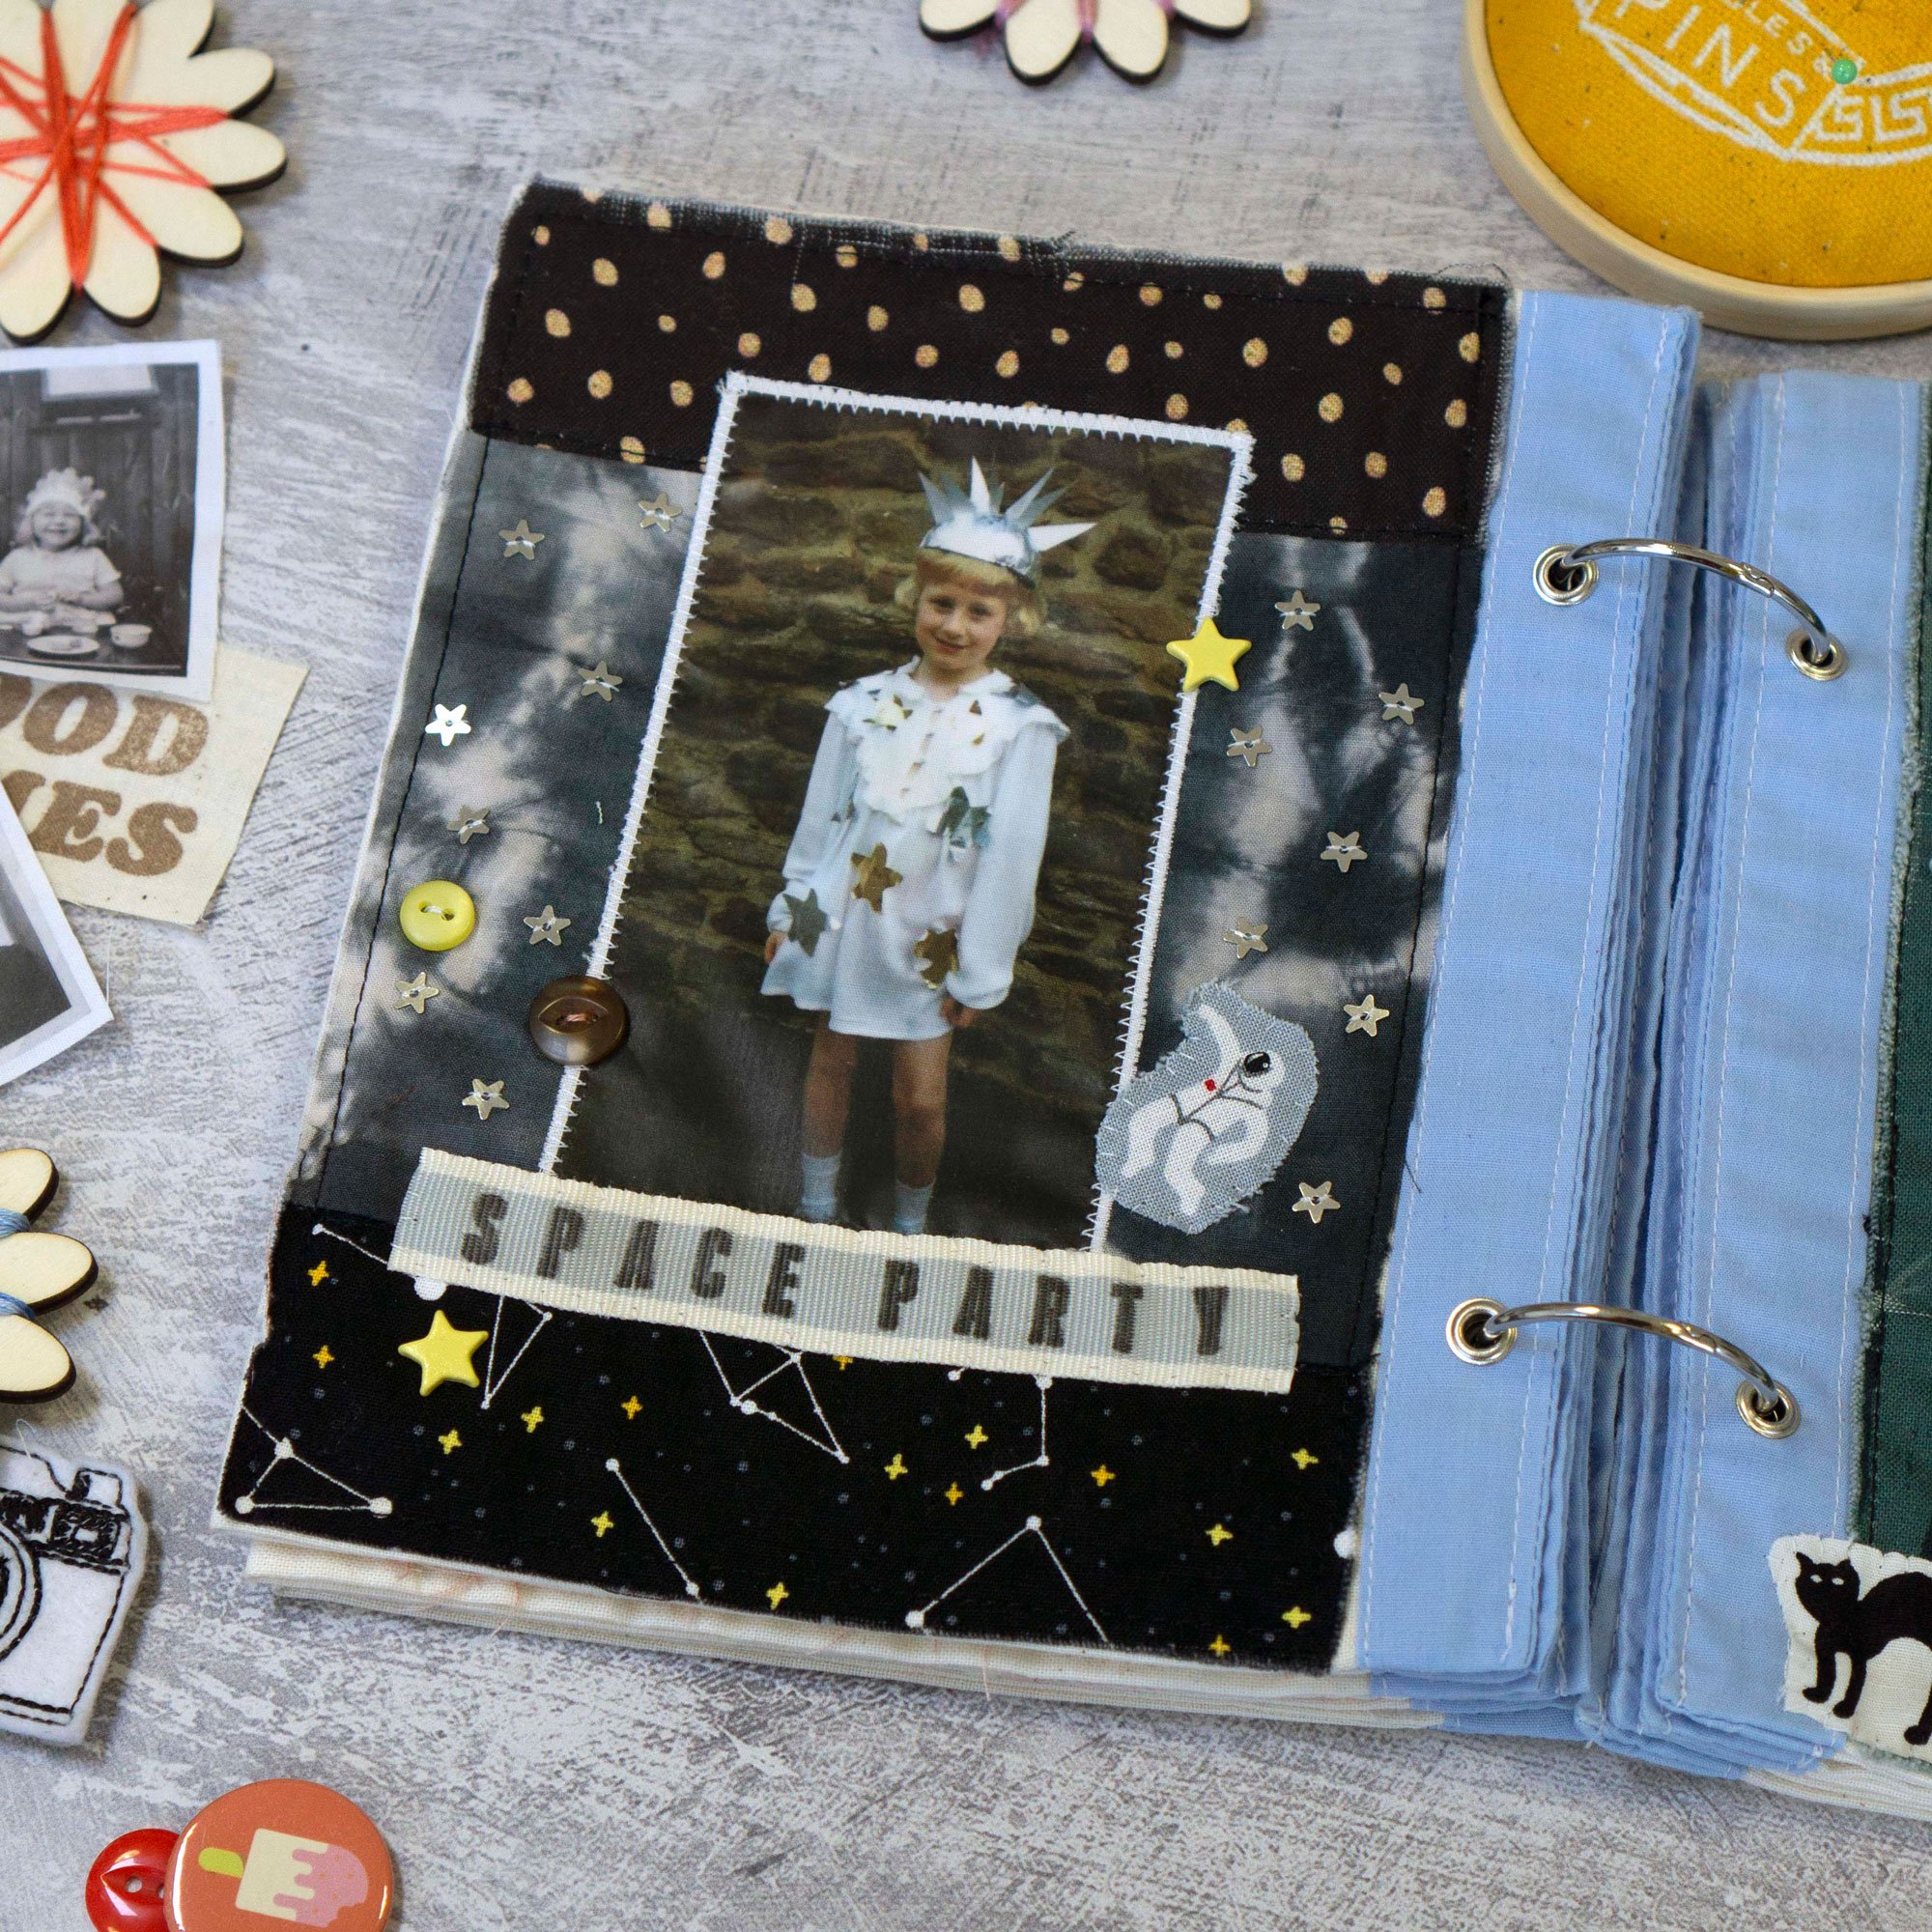
Here are some example Stitchbook pages that I have created using lettering stamps.